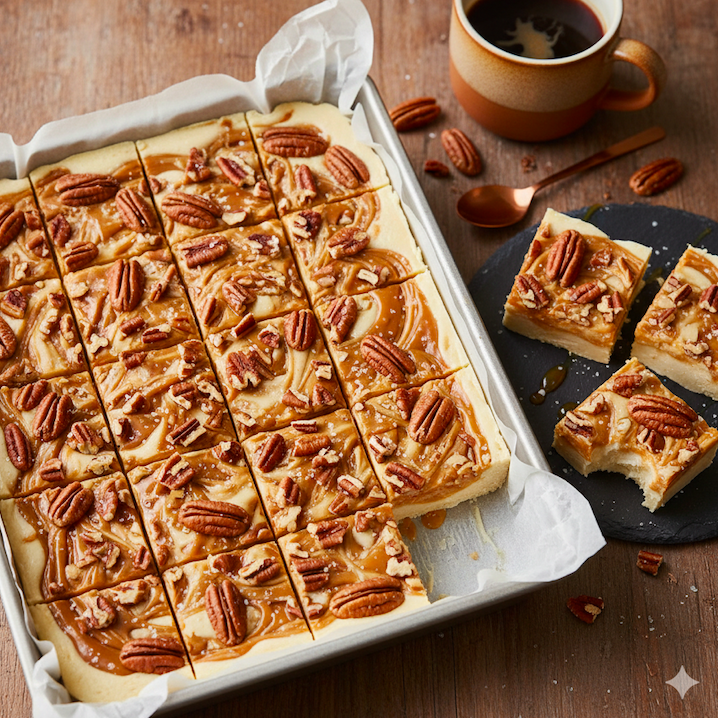
The Best Homemade Swiss Roll Recipe – Light, Fluffy & Absolutely Irresistible! 🍰
A Little Slice of Nostalgia
I’ll never forget the first time my grandmother pulled a perfect Swiss roll from her oven – golden, pillowy, and rolled up like a little edible present. She’d dust it with powdered sugar, slice it at the table, and we’d all gasp at that beautiful spiral. Back then, I thought making one required some kind of baking wizardry. Turns out, it’s actually one of the most rewarding desserts you can master at home, and it never fails to impress at potlucks, birthdays, or lazy Sunday afternoons.
Table of Contents
Why You’ll Love This Easy Swiss Roll Recipe
This classic Swiss roll cake combines a delicate sponge cake with sweet, creamy filling – all wrapped up in an elegant spiral that looks bakery-worthy but comes together in under an hour. What makes this recipe special? The cake stays incredibly moist and flexible (no cracking!), and you can customize the filling with jam, whipped cream, buttercream, or even chocolate ganache. It’s a simple dessert recipe that feels fancy, tastes amazing, and works for everything from holiday gatherings to weeknight treats. Plus, it’s a total crowd-pleaser that adults and kids alike devour in seconds.
Whether you’re searching for an easy American dessert idea or want to try your hand at a beginner-friendly rolled cake, this guide will walk you through every step with confidence.
Ingredients
For the Sponge Cake:
- 4 large eggs (room temperature)
- ¾ cup granulated sugar
- 1 teaspoon vanilla extract
- ¾ cup all-purpose flour
- 1 teaspoon baking powder
- ¼ teaspoon salt
- Powdered sugar (for dusting)
For the Filling:
- 1 cup heavy whipping cream (cold)
- 3 tablespoons powdered sugar
- 1 teaspoon vanilla extract
- ½ cup strawberry or raspberry jam (optional, for extra flavor)
Optional Toppings:
- Extra powdered sugar for dusting
- Fresh berries
- Chocolate shavings
Step-by-Step Instructions
Step 1: Prep Your Pan
Preheat your oven to 375°F (190°C). Line a 10×15-inch jelly roll pan with parchment paper, making sure it comes up the sides a bit. Lightly grease the parchment with butter or cooking spray. This is your anti-stick insurance policy!
Step 2: Whip Those Eggs
In a large mixing bowl, beat the eggs with an electric mixer on high speed for about 3–4 minutes until they’re thick, pale, and tripled in volume. Gradually add the granulated sugar while continuing to beat. The mixture should fall in ribbons when you lift the beaters – that’s the magic moment! Mix in the vanilla extract.
Step 3: Fold in the Dry Ingredients
In a separate bowl, whisk together the flour, baking powder, and salt. Gently fold this into the egg mixture using a spatula – be careful not to deflate all those beautiful air bubbles you just created. Fold until just combined and no flour streaks remain.
Step 4: Bake to Perfection
Pour the batter into your prepared pan and spread it evenly into the corners. Bake for 12–15 minutes, or until the top springs back when lightly touched and the edges just start to pull away from the pan. Don’t overbake – a dry cake will crack when rolled!
Step 5: The Famous Towel Roll
Here’s the secret trick: While the cake is still hot, dust a clean kitchen towel generously with powdered sugar. Flip the cake onto the towel, peel off the parchment paper, and starting from a short end, gently roll the cake up with the towel inside. Let it cool completely in this rolled position (about 30 minutes). This “trains” the cake to hold its shape without cracking.
Step 6: Make the Filling
Beat the heavy cream, powdered sugar, and vanilla extract together until stiff peaks form. If you’re using jam, set it aside in a small bowl.
Step 7: Fill and Re-Roll
Carefully unroll the cooled cake. Spread the jam (if using) over the surface first, then spread the whipped cream on top, leaving about a ½-inch border around the edges. Re-roll the cake (without the towel this time!) as tightly as you can without squishing out the filling.
Step 8: Chill and Serve
Wrap the Swiss roll in plastic wrap and refrigerate for at least 1 hour before slicing. This helps everything set beautifully. Dust with more powdered sugar before serving, and garnish with fresh berries if you’re feeling fancy!
Pro Tips & Chef’s Notes 💡
Secret #1: Room temperature eggs whip up much fluffier than cold ones. Let them sit on the counter for 30 minutes before starting.
Secret #2: The towel-rolling technique is NON-NEGOTIABLE. It prevents cracking and makes your life so much easier. Trust the process!
Secret #3: Don’t skip the parchment paper. Wax paper will stick, and you’ll be sad.
Secret #4: For a chocolate version, replace ¼ cup of the flour with unsweetened cocoa powder. Boom – instant chocolate Swiss roll!
Secret #5: Leftover Swiss roll stores beautifully in the fridge for up to 3 days. Just keep it wrapped tightly so it doesn’t dry out.
Secret #6: If you see a tiny crack, don’t panic! A generous dusting of powdered sugar covers all sins. We’ve all been there.
Nutrition Facts (Per Slice – Makes 10 Slices)
- Calories: 195
- Protein: 4g
- Carbohydrates: 26g
- Fat: 9g
- Saturated Fat: 5g
- Sugar: 18g
- Fiber: 0.5g
- Cholesterol: 95mg
- Sodium: 95mg
Note: Nutrition info is approximate and varies based on specific ingredients and portion sizes.
Let’s Get Rolling! 🎉
There you have it – the ultimate Swiss roll recipe that’s easier than you think and tastes like pure nostalgia. Whether you’re making it for a birthday party, a cozy weekend baking session, or just because you deserve something sweet, this light and fluffy rolled cake delivers every single time.
Have you tried making Swiss rolls before? What’s your favorite filling combo? Drop a comment below and share your baking wins (or hilarious fails – we’ve all had them!). And if you give this recipe a shot, snap a pic and tag us on social media. I’d love to see your beautiful spirals!
Happy baking, friend! Now go roll something delicious. 🥳✨


