Easy Powdered Sugar Icing for Cookies, Cakes & More
Prep Time: 5 minutes
Cook Time: 0 minutes
Total Time: 5 minutes
Servings: 9 servings (about 1 cup)
Dietary: Vegetarian, Gluten-Free

Every baker needs a go-to icing recipe that’s quick, reliable, and versatile. This easy powdered sugar icing is exactly that—a simple, three-ingredient recipe that comes together in minutes and works beautifully on everything from sugar cookies to bundt cakes. Whether you need a thick frosting for decorating or a thin glaze for drizzling, this recipe adjusts to your needs with just a splash more (or less) liquid.
Why This Recipe Works
The beauty of this powdered sugar icing lies in its simplicity and adaptability. Unlike complicated buttercream or temperamental royal icing, this recipe requires no special equipment, no precise temperatures, and no advanced techniques. Just mix, adjust the consistency to your liking, and you’re ready to create beautiful, delicious desserts.
The smooth texture makes it perfect for drizzling over warm cinnamon rolls, glazing bundt cakes, decorating sugar cookies, or adding a sweet finish to scones and sweet breads. Plus, it dries to a beautiful, semi-firm finish that won’t smudge but stays pleasantly soft to bite into.
Ingredients

Basic Icing:
- 2 cups powdered sugar (confectioners’ sugar), sifted
- 3-4 tablespoons milk (whole, 2%, or plant-based)
- 1 teaspoon vanilla extract
Optional Flavor Variations:
- 1/2 teaspoon almond extract (replace half the vanilla)
- 1 tablespoon lemon or orange juice (replace part of the milk)
- Zest of 1 lemon or orange
- 1/4 teaspoon peppermint extract
- 1 tablespoon strong brewed coffee or espresso
Optional Add-ins:
- Food coloring (gel or liquid)
- 1-2 tablespoons cocoa powder for chocolate icing
- Pinch of salt to balance sweetness
Instructions

Step 1: Sift the Sugar
Place your powdered sugar in a medium mixing bowl. Sifting is optional but recommended—it removes any lumps and creates an ultra-smooth icing. If you’re short on time, just break up any visible clumps with a fork or whisk.
Step 2: Add the Liquid
Add 3 tablespoons of milk and the vanilla extract to the powdered sugar. Start with less liquid rather than more—you can always add more, but you can’t take it away!
Step 3: Mix Until Smooth
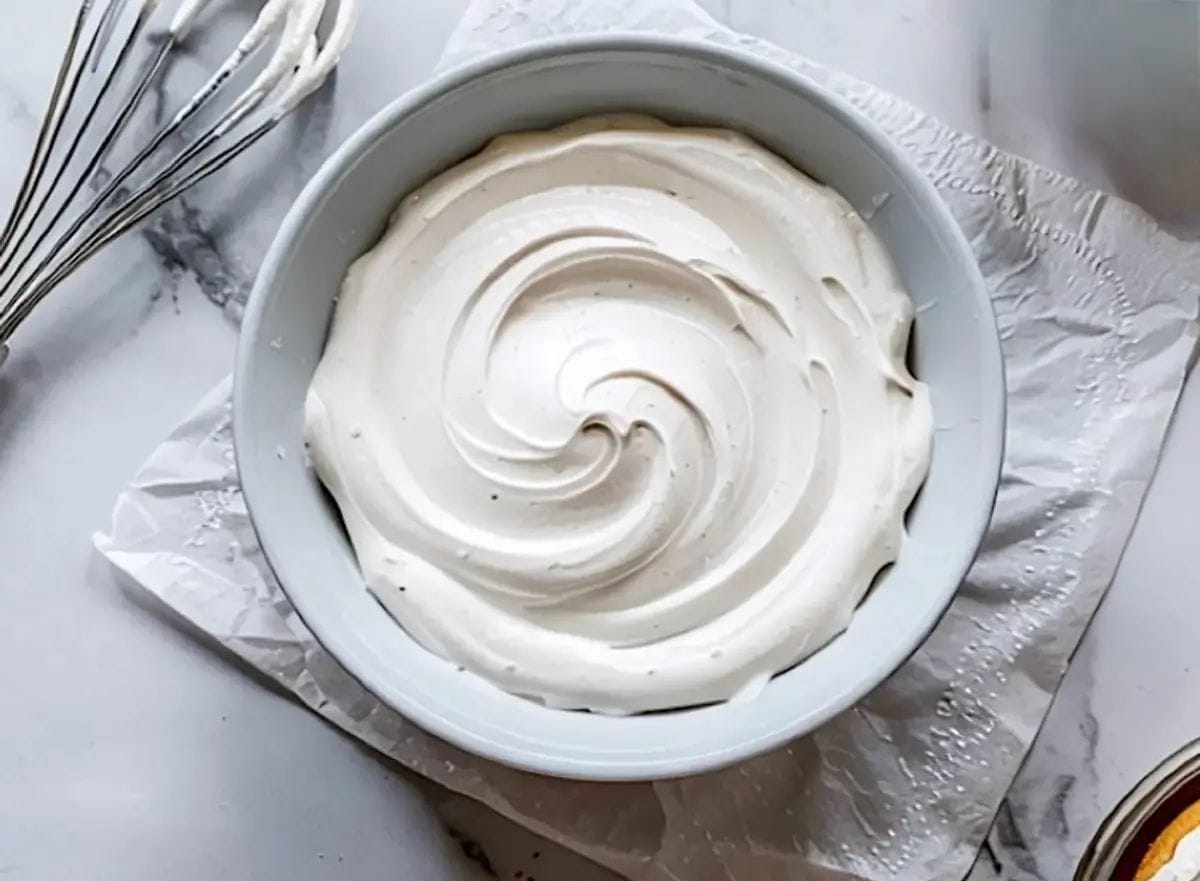
Using a whisk or spoon, stir the mixture until completely smooth and no lumps remain. The icing should be thick and spreadable at this point. Continue stirring for about 1-2 minutes to ensure everything is well incorporated.
Step 4: Adjust the Consistency
Here’s where you customize the icing for your specific needs:
For a thick frosting (spreading on cookies, piping): The icing should hold its shape and be thick enough to spread without running. If it’s too thin, add more powdered sugar, 1 tablespoon at a time.
For a medium glaze (drizzling with control): Add milk 1/2 teaspoon at a time until the icing slowly drips off your spoon but still holds a ribbon shape for a few seconds.
For a thin glaze (pouring over cakes): Continue adding milk until the icing flows easily off your spoon and creates a smooth, even coating. It should be pourable but not watery.
Step 5: Use Immediately
This icing is best used right away while it’s smooth and fluid. If you need to wait, cover the bowl with plastic wrap pressed directly onto the surface to prevent it from drying out. Give it a good stir before using.
Consistency Guide
Getting the right consistency is key to successful icing. Here’s what to look for:
Cookie Decorating Consistency: Should be thick enough to hold a line when piped, but thin enough to settle smooth within 10-15 seconds. When you lift your spoon, the icing should slowly fall back into the bowl.
Flooding Consistency: For filling in outlined cookies, thin the icing until it flows easily but still has body. It should settle completely smooth within 5-10 seconds.
Glazing Consistency: For pouring over bundt cakes or donuts, the icing should be thin enough to cascade down the sides but thick enough to create an even coating without being transparent.
Drizzling Consistency: Similar to glazing but slightly thicker, allowing you to create deliberate drizzle patterns that hold their shape.
Tips for Perfect Icing Every Time
Sift for Smoothness: Taking 30 seconds to sift your powdered sugar eliminates lumps and creates professional-looking results.
Start Thick, Then Thin: It’s much easier to thin icing than to thicken it. Always start with less liquid and add gradually.
Room Temperature Matters: Use room temperature milk for the best consistency. Cold milk can make the icing too thick and difficult to work with.
Work Quickly: This icing begins to set as it’s exposed to air. If you’re decorating multiple cookies, keep the icing bowl covered with a damp paper towel between uses.
Test First: Before committing to decorating your entire batch, test your icing consistency on a single cookie or a piece of parchment paper.
Microwave Revival: If your icing gets too thick while working, microwave it for 5-10 seconds and stir well to restore the proper consistency.
Clean Tools: Make sure all bowls, spoons, and measuring cups are completely clean and free of grease, which can affect the texture of your icing.
Flavor Variations
Vanilla Bean: Replace extract with seeds from 1 vanilla bean for elegant speckled icing.
Citrus Glaze: Replace milk with fresh lemon, lime, or orange juice and add 1 teaspoon of zest for bright, tangy icing.
Almond: Replace vanilla with almond extract for a sophisticated flavor that pairs beautifully with cherry or chocolate desserts.
Coffee: Replace milk with strong brewed coffee or espresso for a mocha-flavored icing.
Maple: Use pure maple syrup in place of 1-2 tablespoons of the milk for subtle maple flavor.
Brown Butter: Use melted and cooled brown butter in place of some of the milk for a nutty, caramel-like flavor.
Cream Cheese: Add 2 tablespoons of softened cream cheese for tangier, richer icing.
Chocolate: Add 2 tablespoons of cocoa powder and an extra tablespoon of milk for chocolate icing.
Peppermint: Perfect for holiday baking—add 1/4 teaspoon peppermint extract and a drop of red or green food coloring.
Coloring Your Icing
To create colored icing for decorated cookies or festive cakes:
Gel Food Coloring: Best choice for vibrant colors without thinning the icing. Add a tiny amount with a toothpick and mix thoroughly. Add more gradually until you reach desired color.
Liquid Food Coloring: Works fine but may thin your icing slightly. Add drop by drop and be prepared to add a bit more powdered sugar if needed.
Natural Coloring: Use beet juice for pink/red, turmeric for yellow, matcha for green, or blueberry juice for purple. These will add subtle flavor along with color.
Pro Tip: Colors deepen as they sit, so let colored icing rest for 10 minutes before deciding if you need to add more coloring.
Uses for Powdered Sugar Icing
This versatile icing works beautifully on:
Cookies:
- Sugar cookies
- Gingerbread cookies
- Shortbread
- Cut-out cookies
Cakes:
- Bundt cakes
- Pound cakes
- Sheet cakes
- Layer cakes (as a simple glaze)
Pastries:
- Cinnamon rolls
- Danishes
- Scones
- Sweet rolls
- Pop-Tarts
Breads:
- Lemon bread
- Banana bread
- Pumpkin bread
- Coffee cake
Other Treats:
- Donuts
- Eclairs
- Toaster strudels
- Graham crackers (for making cookie houses)
Storage
Room Temperature: Store leftover icing in an airtight container at room temperature for up to 2 days. The icing will thicken considerably as it sits.
Refrigerator: Keep covered in the fridge for up to 1 week. Bring to room temperature and stir well before using. You’ll likely need to add a bit more milk to restore the original consistency.
Freezer: This icing doesn’t freeze well due to its high sugar content and liquid base.
Reconstituting: If your icing has thickened in storage, simply add milk a few drops at a time while stirring until you reach the desired consistency again. You may need to microwave it for 5-10 seconds to make stirring easier.
Troubleshooting
Icing is too thick: Add milk or water 1/2 teaspoon at a time, stirring well after each addition.
Icing is too thin: Add powdered sugar 1 tablespoon at a time until you reach the desired consistency.
Icing has lumps: Press the icing through a fine-mesh sieve to remove lumps, or blend with an immersion blender for 30 seconds.
Icing is drying too quickly: Add a tiny drop of corn syrup (about 1/4 teaspoon) to keep it workable longer.
Icing isn’t drying: You may have added too much liquid. Let it sit uncovered for 10-15 minutes, or add more powdered sugar.
Icing looks dull: Add a tiny drop of corn syrup or honey for a glossy finish.
Frequently Asked Questions
Can I use water instead of milk?
Yes! Water works perfectly fine and creates a slightly shinier finish. The milk adds a touch of creaminess and helps with flavor, but water is an excellent dairy-free option.
How long does the icing take to dry?
Thin glazes dry in about 15-20 minutes. Thicker icing can take 1-2 hours to fully set, depending on thickness and humidity.
Can I make this ahead?
It’s best made fresh, but you can make it a few hours ahead. Store covered with plastic wrap pressed directly on the surface to prevent crusting.
Is this the same as royal icing?
No. Royal icing is made with egg whites or meringue powder and dries completely hard. This icing stays slightly soft and is much quicker to make.
Can I pipe designs with this icing?
Yes, if you make it thick enough! For detailed piping work, use less liquid to create a stiff consistency that holds its shape.
Why is my icing grainy?
This usually happens if the powdered sugar isn’t fully dissolved. Make sure to stir well for at least 1-2 minutes, or try sifting your powdered sugar first.
The Bottom Line
This easy powdered sugar icing is a true kitchen essential. With just three basic ingredients and five minutes of your time, you can create a beautiful, delicious finish for countless desserts. The recipe is forgiving, customizable, and perfect for bakers of all skill levels—from beginners making their first batch of sugar cookies to experienced bakers looking for a quick glaze for their latest creation.
Keep this recipe in your back pocket for last-minute baking emergencies, holiday cookie decorating sessions, or anytime you need a sweet finishing touch. Once you see how easy and versatile it is, you’ll wonder how you ever baked without it!