Snowball Snack: Your Ultimate Guide to This Irresistible Treat
A Sweet Bite of Nostalgia: Why You’ll Love Snowball Snacks
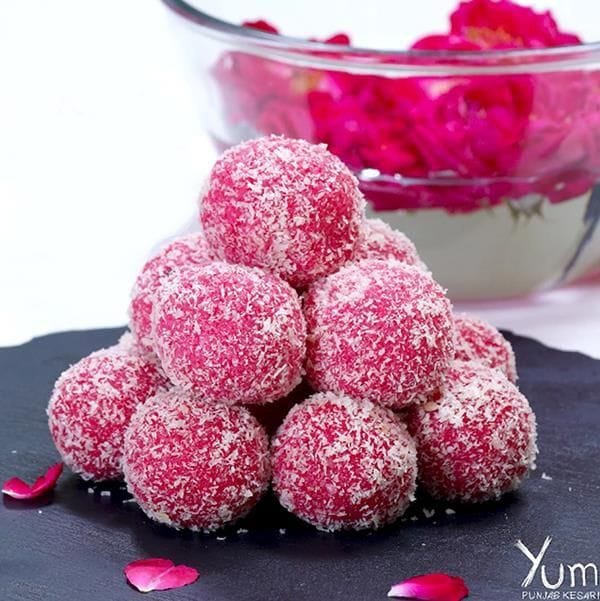
Think back to the first time you bit into a soft, fluffy, coconut-covered snowball snack. That perfect combination of sweetness, texture, and comfort — it’s not just a treat; it’s an experience. Whether you’re a lifelong fan or tasting one for the first time, you’re about to discover why snowball snacks are so beloved. In this guide, we’ll explore their history, dive into mouthwatering recipes, and even share some creative variations. By the end, you’ll be ready to whip up your own batch of these irresistible delights.
What Exactly Is a Snowball Snack?
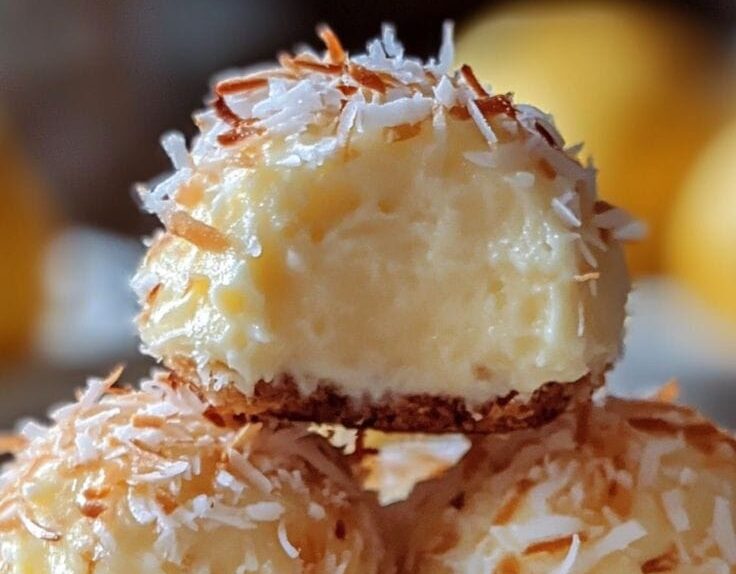
If you’ve never had the pleasure, a snowball snack is a round, fluffy confection often made with a soft cake or marshmallow center. It’s coated in a smooth layer of chocolate or frosting and finished with a generous roll in shredded coconut. The result? A perfect balance of textures and flavors.
What Makes Snowball Snacks So Special?
- Soft and Fluffy Interior: A tender, melt-in-your-mouth core.
- Sweet and Crunchy Exterior: Shredded coconut adds the perfect touch.
- Perfect Flavor Balance: Sweet, rich, and just the right hint of crunch.
The Story Behind Snowball Snacks
These treats have been around for decades, earning their place as a classic in bakeries and home kitchens worldwide. Inspired by traditional coconut-based desserts, the snowball snack evolved into the beloved form we know today — a nostalgic favorite for many.
How to Make Snowball Snacks at Home
There’s nothing quite like a homemade snowball snack. Follow this simple, fail-proof recipe and treat yourself to these sweet bites of joy.
Ingredients You’ll Need
| Ingredient | Quantity |
|---|---|
| All-purpose flour | 2 cups |
| Sugar | 1 cup |
| Butter | 1/2 cup |
| Eggs | 2 |
| Baking powder | 1 tsp |
| Milk | 1/2 cup |
| Vanilla extract | 1 tsp |
| Shredded coconut | 1 cup |
| Chocolate frosting | 1/2 cup |
Step-by-Step Instructions
- Preheat your oven: Set it to 180°C (350°F).
- Mix the wet ingredients: Cream the butter and sugar until light and fluffy. Add the eggs and vanilla extract, mixing well.
- Combine the dry ingredients: Slowly add the flour and baking powder, alternating with the milk.
- Bake the cake: Pour the batter into a greased pan and bake for 25-30 minutes.
- Cool and shape: Once the cake has cooled, cut it into small rounds.
- Frost: Spread a thin layer of chocolate frosting over each round.
- Coat with coconut: Roll each frosted round in shredded coconut.
- Chill and serve: Let them set in the fridge for 15 minutes before serving.
Creative Twists on the Classic Snowball Snack
Want to get creative? Here are a few fun variations to try.
Chocolate Lover’s Snowballs
- Use a rich chocolate cake base for an extra cocoa kick.
Fruit-Filled Snowballs
- Add a jam or fruit preserve center for a burst of flavor.
Vegan Snowball Snacks
- Swap out the butter and milk for plant-based alternatives.
Nutritional Breakdown
| Nutrient | Amount per Serving |
|---|---|
| Calories | 250 kcal |
| Fat | 12g |
| Carbohydrates | 32g |
| Protein | 3g |
Frequently Asked Questions (FAQ)
Are Snowball Snacks Gluten-Free?
Not the traditional ones — they’re made with all-purpose flour. But you can easily make a gluten-free version by using almond or coconut flour.
How Long Do Homemade Snowball Snacks Last?
Stored in an airtight container, they’ll stay fresh and delicious for up to 5 days.
Can You Freeze Snowball Snacks?
Absolutely! Wrap them individually and freeze for up to 3 months.
Ready to Make Your Own Snowball Snacks?
Snowball snacks offer more than just sweetness — they deliver comfort, nostalgia, and a little bit of magic in every bite. Whether you stick to the classic recipe or experiment with your own variations, these treats are sure to become a favorite. So why wait? Gather your ingredients, roll up your sleeves, and start baking today. And don’t forget to share your delicious creations with friends and family!